1.1 Two-factor authentication
Two-factor authentication is a security measure that requires two factors to verify your identity when signing in to a Microsoft 365 account.
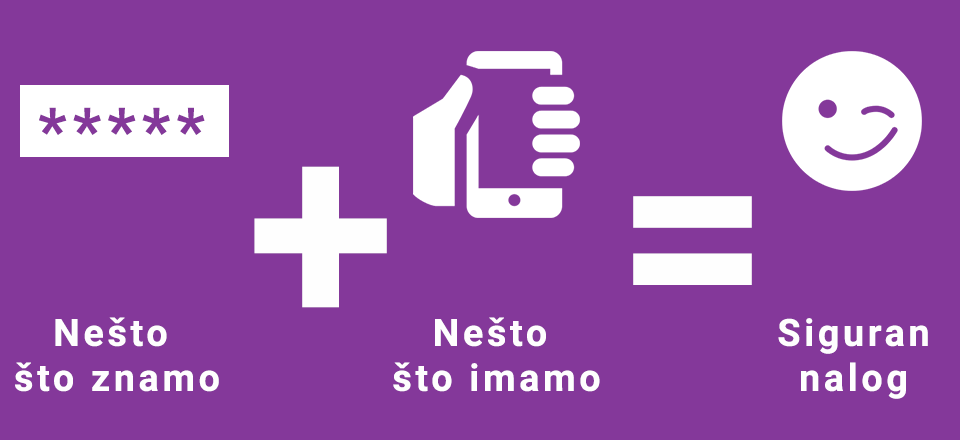
1.2 Steps in double authentication when logging into a school account
- Entering a password - the first factor for authentication
- Obtaining an authentication code
- Entering the code into Microsoft Authentificator on the smartphone
The Ministry of Education, Science and Innovation recommends this option for school Microsoft 365 accounts because it provides better protection against hackers and data theft. If you only use the password as the only factor, there is a risk that it can be guessed, stolen or intercepted. However, if you also use a second factor, such as the Microsoft Authenticator app on your smartphone, then you'll need that device to sign in as well. This means that even if someone has your password, they won't be able to access your account without your phone. Also, if you lose or forget your password, you can easily reset it using another option you've chosen, such as SMS or email.
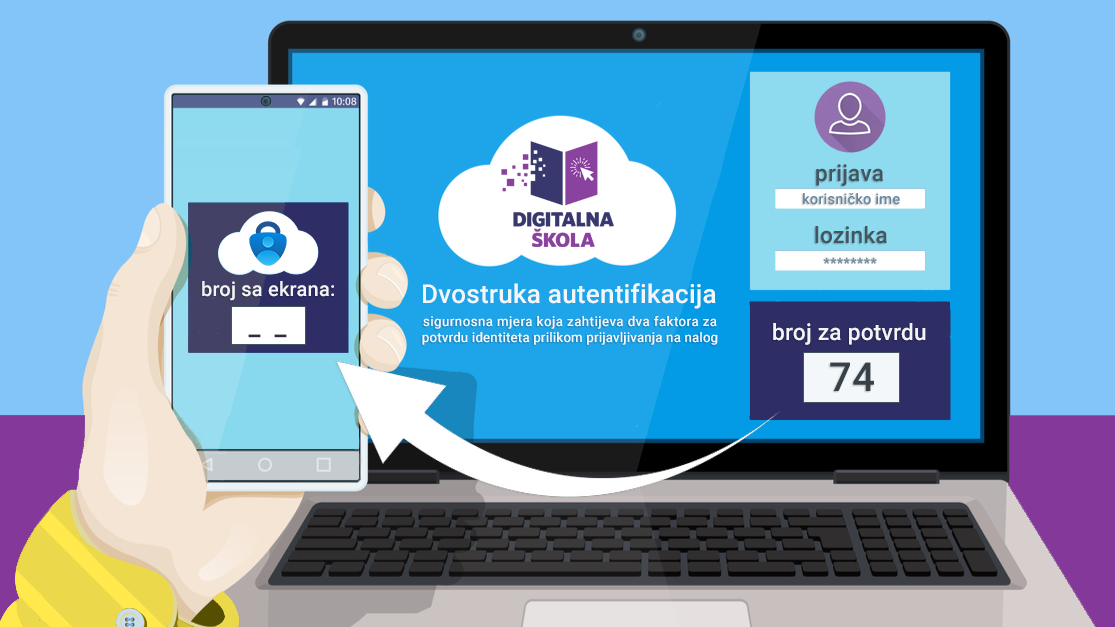
Two-factor authentication allows you to stay safe and prevent the loss of important data and information stored in your Microsoft 365 account.
1.3 Instructions for two-factor authentication on Windows computers
1.4 Instructions for two-factor authentication on a smartphone
2.1 Obtaining a user account and password
If you are a student or parent, contact your class teacher to obtain a user account and password, as well as to change your password.
Parents of preschool children in kindergarten should contact the educator in their educational group for the information about the user account for their child.
The teaching staff should contact the school ICT coordinator for the username and password.
2.2 Access to the platform
Click on the “Digital Classroom“ button located in the main menu in the right corner (Figure 1).
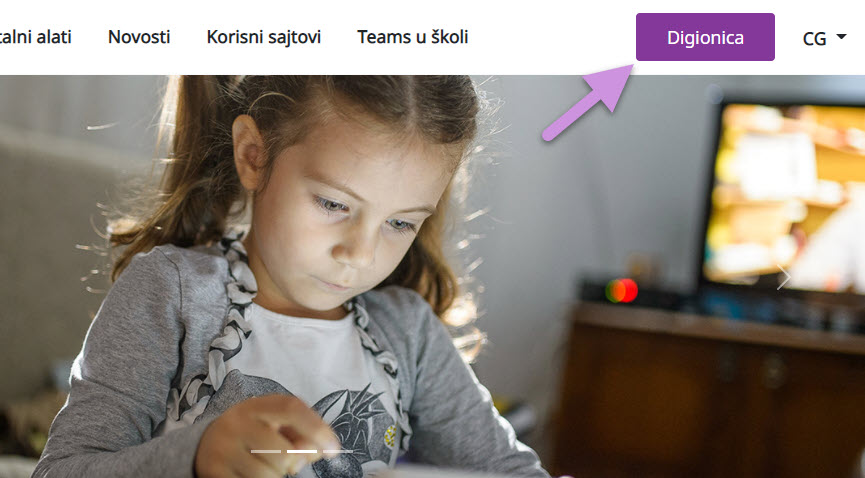
Digital Classroom can be accessed via the following link: https://montenegro.learningpassport.org
2.3 Logging into the platform
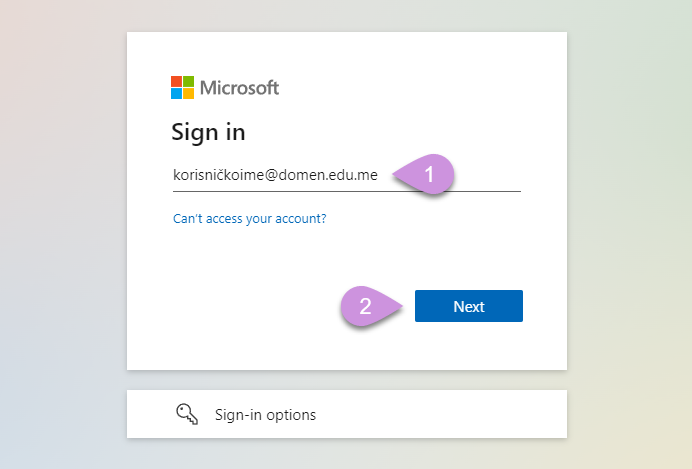
You can log into the platform with your Microsoft Office365 account that you received at school (teachers and students) or kindergarten (educators and parents). When logging in, you need to enter your email address and password.
 After logging in to the Digital Classroom, you can use web versions of all Microsoft 365 programs and services without logging in again. For more information, visit the Digital Tools page.

2.4 Setting up a user account
After successfully logging in and entering the Digital Classroom, you need to fill in the profile fields. When you have filled in all the required fields ("Name", "Surname", "Gender", "Year of birth", "Level of education /grade the content of which you are accessing", and "Educational institution"), you can join the Digital Classroom by clicking on the “START” button.
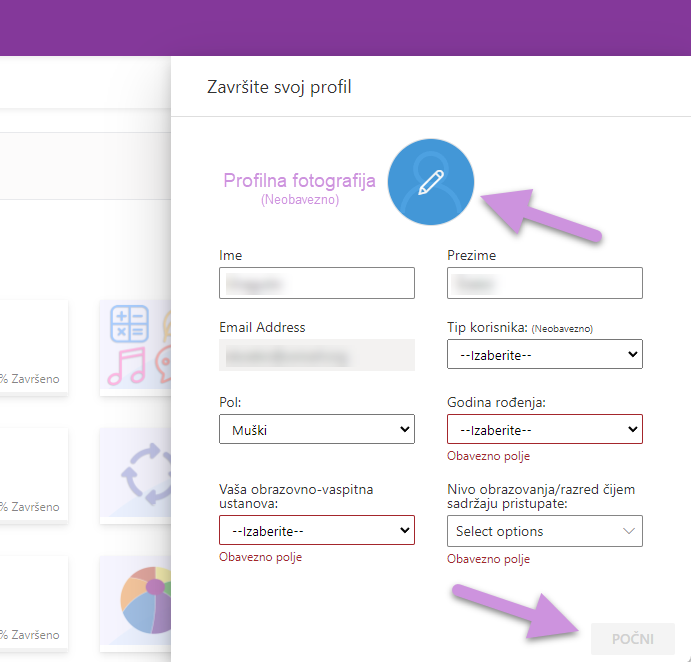
Depending on the selection of the "Education level/grade" field, you will be shown the content for that level / grade. In this field you can select more options if you want to have access to educational materials of higher grades and educational levels.
- With a student account, it is possible to choose pre-school education and one or more grades of primary and secondary school
- With the teacher's account, it is possible to select the option "teacher" and/or "preschool educator"
For teachers, the field "Educational institution" represents the institution in which they work.
You can also change the profile fields later.
2.5 Changing the language
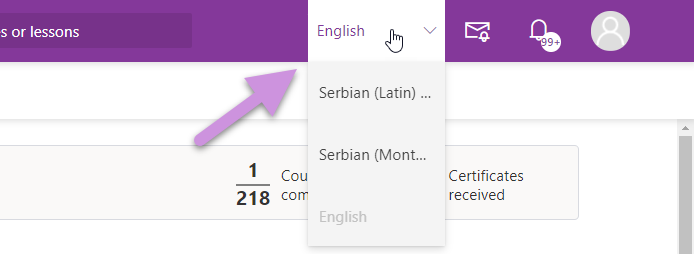
After setting the profile, the user can change the language in the main menu.
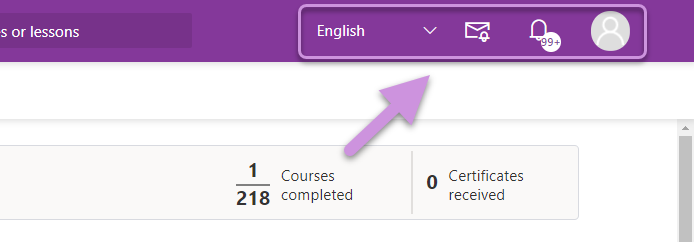
By clicking on the drop-down menu, the user can select a language from the list of available languages.
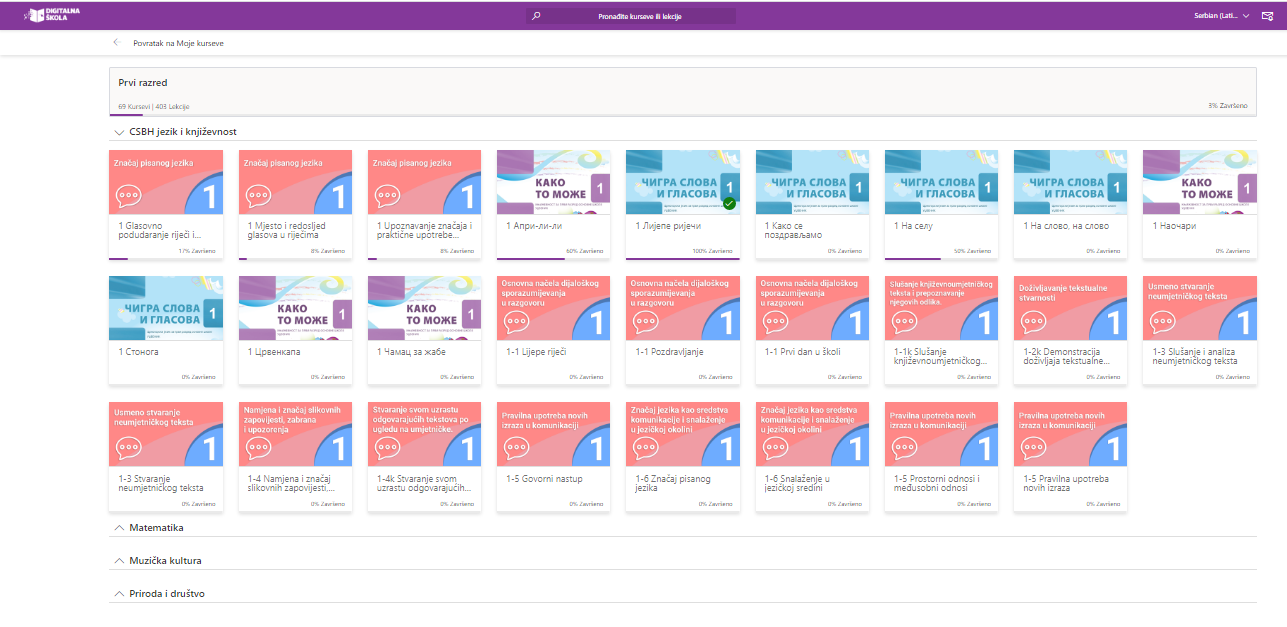
3.1 Moji kursevi
After login, on the My Courses page, you can see all the assigned content, as well as the progress made in mastering them. There are also study areas, categories and completed courses (Figure 7).
Learning paths are units that contain several courses from different categories, grouped by topic. My progress shows brief statistics (i.e. the number of completed and registered courses for the registered user). All successfully completed courses are shown at the bottom of the page.

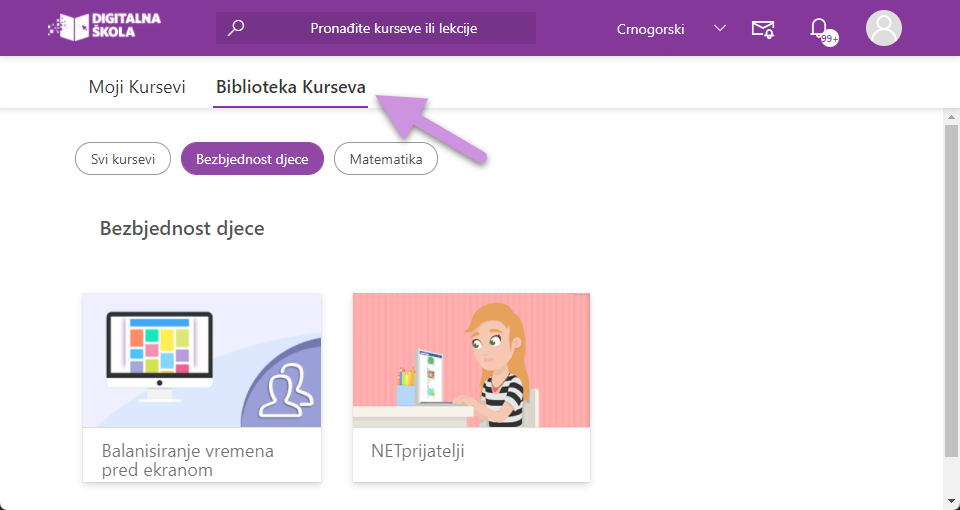
3.2 Biblioteka kurseva
The user can view the course library (Course Library page) and sign up for several courses, at his own wish. The course library contains courses that are not assigned to you and you can filter them by selecting a specific category.
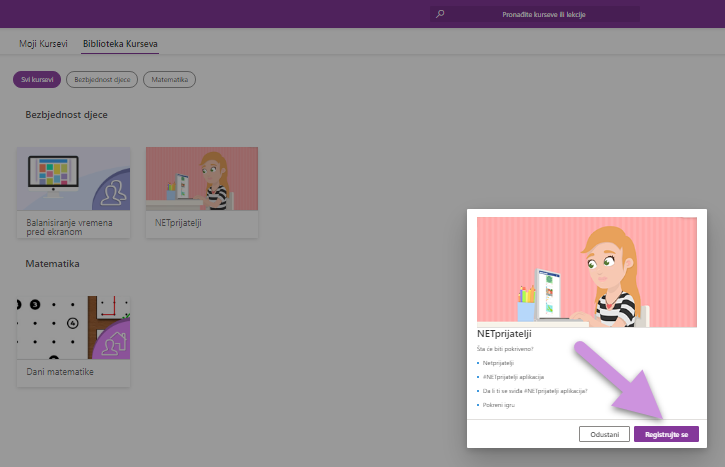
3.3 Registering for a course
The user can view the course library (Course Library page) and sign up for several courses, at his own wish. The course library contains courses that are not assigned to you and you can filter them by selecting a specific category.
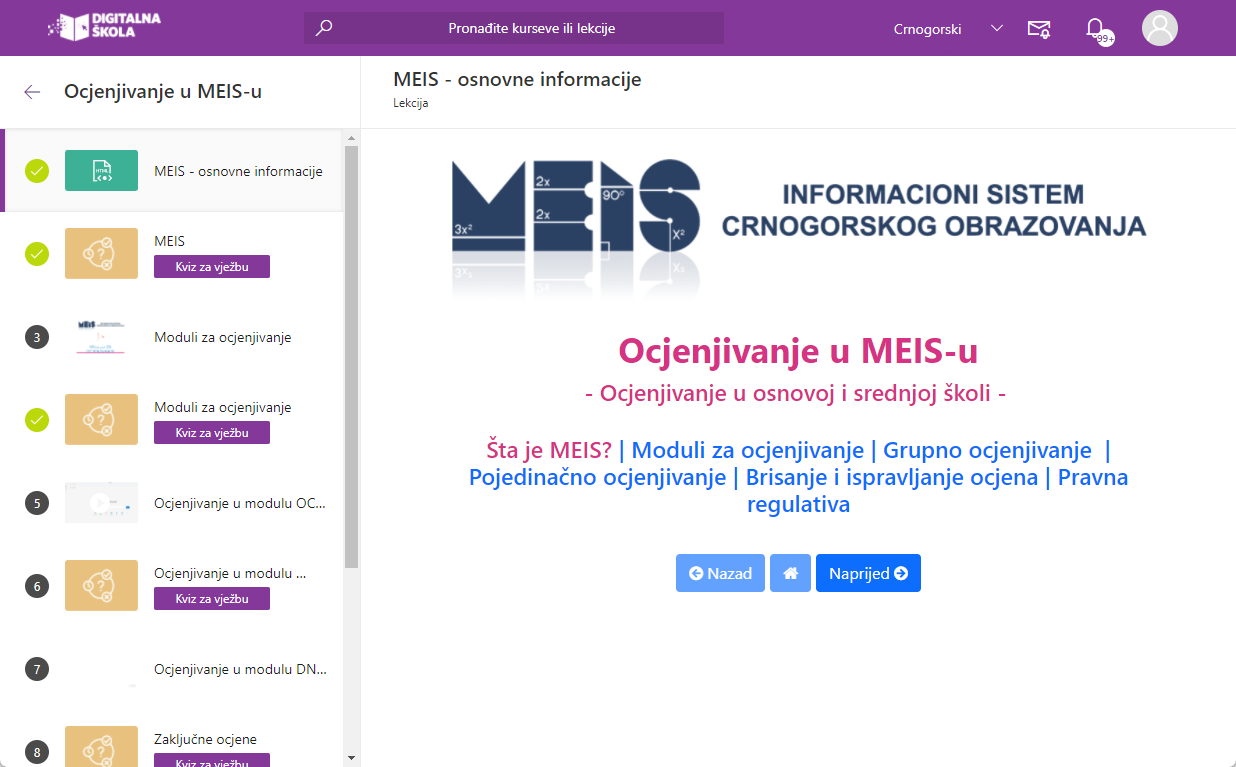
4.1 Overview and use of courses
On the My Courses page, click the course that interests you. Each course contains lessons and /or various knowledge checks (quizzes, tests). Lessons are presented in various formats (video and audio content, HTML content, various text content formats Word, PDF, etc.). Completed lessons are marked with a green circle in front of the title, and unfinished with a number. (Figure 10).
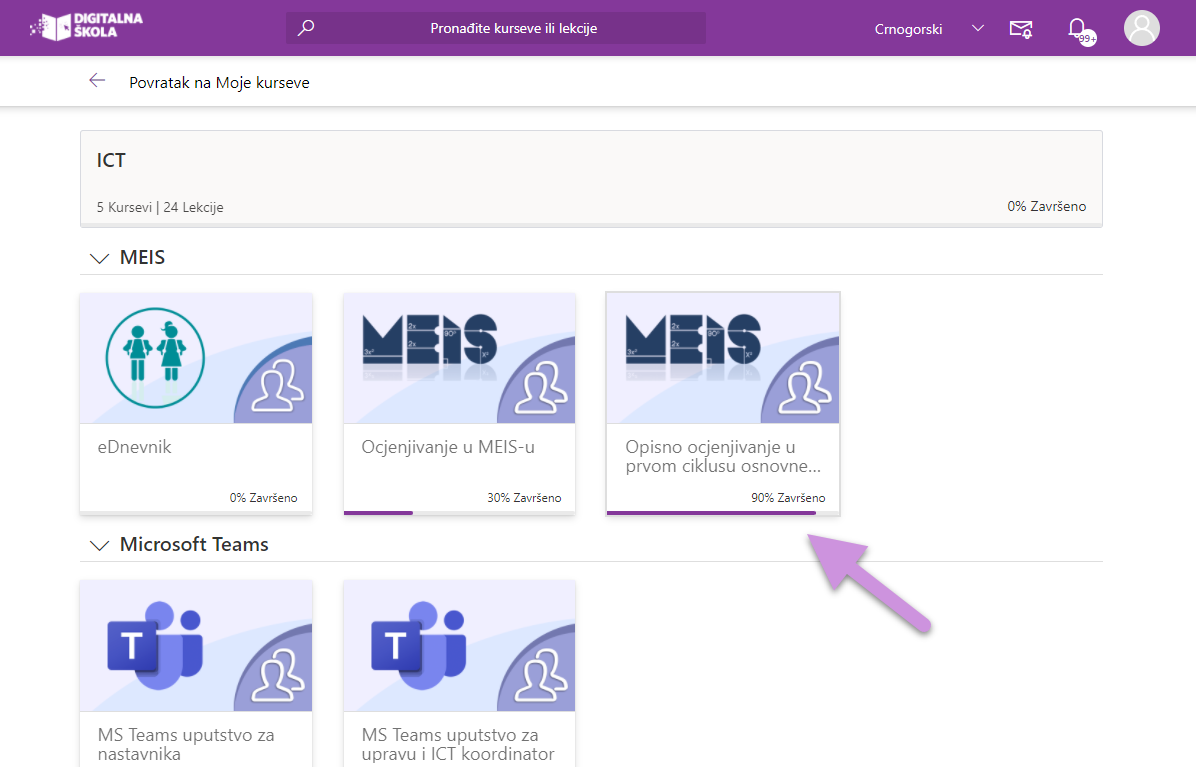
4.2 Overview and use of learning paths
On the My Courses page, click the learning path that interests you. Each learning patj contains courses from different categories, as well as the progress made in mastering them.
For each course shown, you can see the status as a percentage of attendance success in the progress bar (Figure 12).
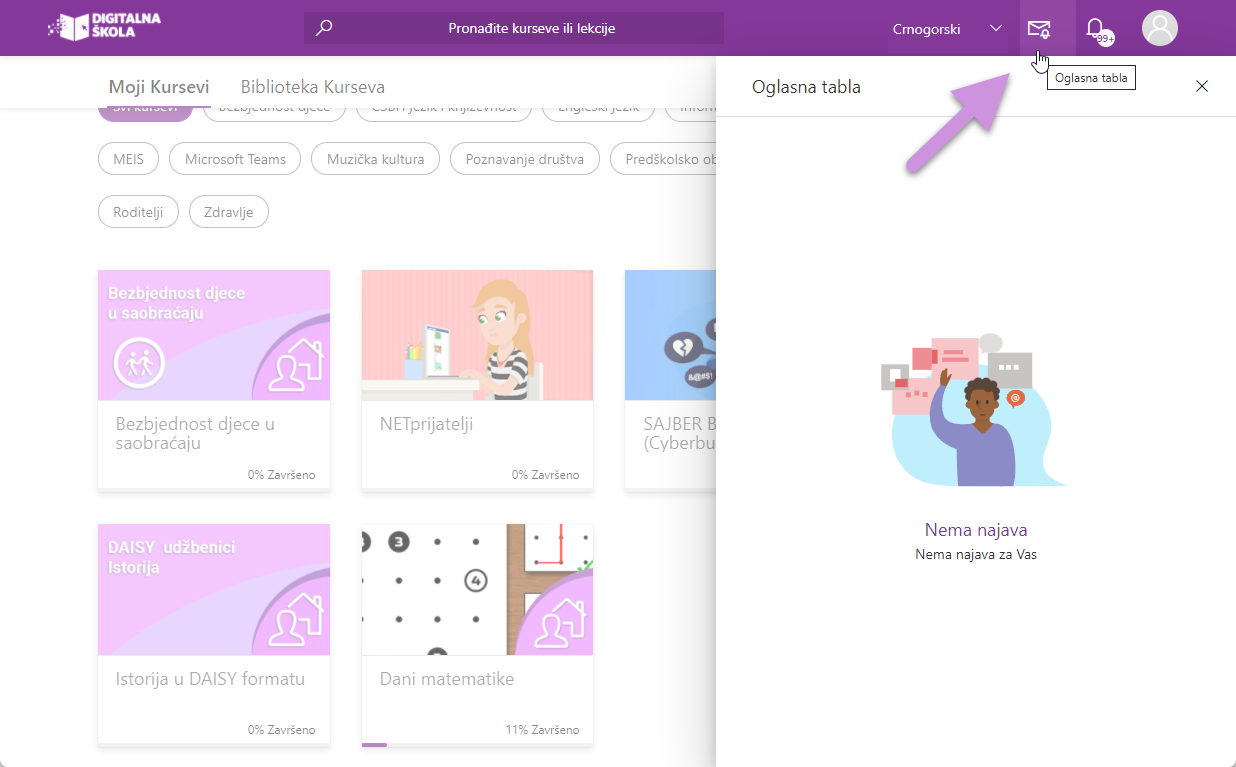
4.3 Notice Board
You can find the Notice Board icon in the main menu (Figure 13). Clicking on the icon will open the notice board where you can see all the notifications set by the administrator in the Digital Classroom.
Navigation
1. Setting up two-factor authentication for your school account
- 1.1 Two-factor authentication
- 1.2 Steps in double authentication when logging into a school account
- 1.3 Instructions for two-factor authentication on Windows computers
- 1.4 Instructions for two-factor authentication on a mobile phone
2. Access to the Digital Classroom and setting up a user account
- 2.1 Obtaining a user account and password
- 2.2 Access to the platform
- 2.3 Logging into the platform
- 2.4 Setting up a user account
- 2.5 Changing the language
3. Searching the Digital Classroom and logging into the course
- 3.1 My courses
- 3.2 Course Library
- 3.3 Registering for a course
4. Using Digital Classroom (learning platform)
- 4.1 Overview and use of courses
- 4.2 Overview and use of learning paths
- 4.3 Notice Board